My first 3D printer was the gateway machine into the world of design and fabrication. Many years ago, thought 3D printing was way out of my reach. Now, printers are pretty common and the technology is stable yet still growing rapidly.
I found an online deal on an ANET A8 DIY printer for $150 and cut my teeth on that machine. It was modded like crazy using parts printed from the machine itself, and in due time, everything on it broke and was replaced one way or another. The bed, nozzle, controller, power supply, it was a rough but wonderful learning experience.
This Creality CR-10 was my second FDM (fused deposition modeling) printer. Almost 3x the price, but 10x more reliable, simple, and sturdy. If you want to learn things the hard way (like me) then get a DIY kit and build it yourself. If you don’t find joy in things breaking and waiting for replacement parts, then get this.
No machine is perfect (or maybe that’s my excuse to mod things). Here are some tips that will make this machine amazing.
Printing Bed
The bed is the flat heated area that the material is layed out onto. This printer comes with a thick square glass sheet usually made of borosilcate glass which is particularly able to handle fluctuating temperatures.
The piece of original glass that came with my printer was warped. I’m not sure if was always warped, or became warped with the tens of thousands of hours of use. The first layer of print was getting really difficult because some areas were too squished, other areas the plastic would not stick. Always check your glass with a metal straight edge to ensure flatness. There are some people that “fix” warped glass by padding areas with tape. I tried that, didn’t work, decided to spend $22 and now my printing area is perfect.
Bed Adhesion
Now that your printing bed is perfectly flat, it’s time to get the material to properly stick to it. I’ve tried everything, Aquanet hairspray, blue painters tape, masking tape, even slurry. The solution people seem to like the most is Kapton tape or PEI. Currently, I am using a special adhesion surface that seems to be working very well.
BuildTak 3D Printing Build Surface, 12″ x 12″ Square, Black (Pack of 3)
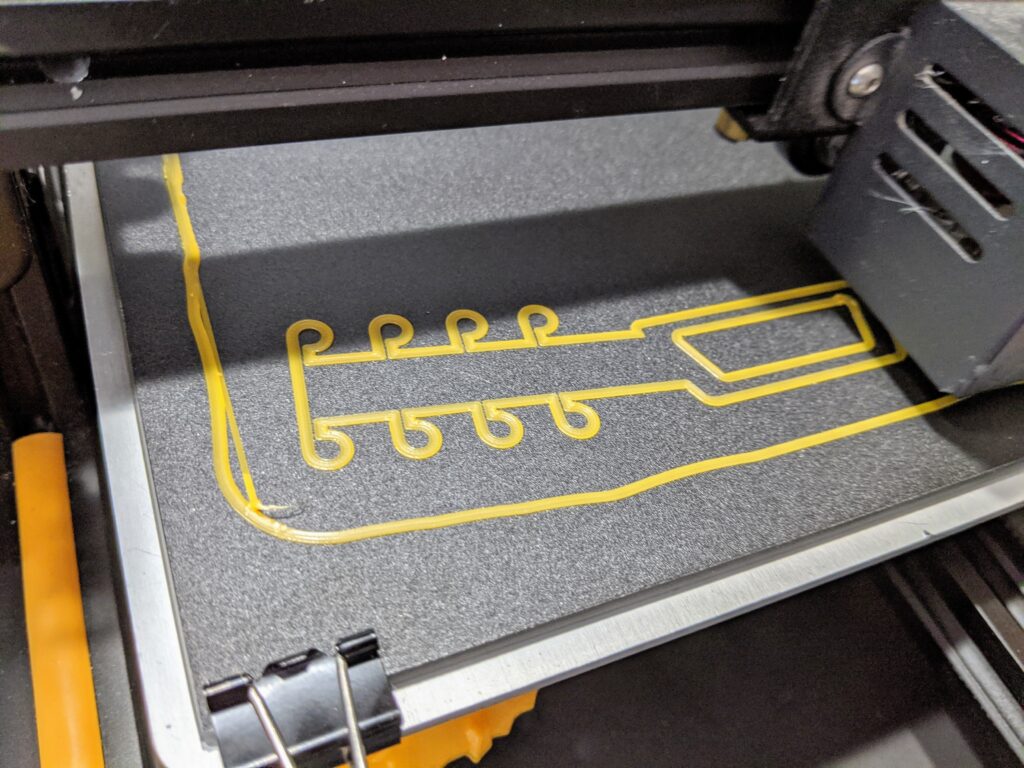
These square plastic sheets seem to work very well. The caveat is that they definitely need to be cleaned with isopropyl between prints. Even though your parts may seem to come off perfectly, there is definitely a chemical residue that it leaves behind which makes prints eventually not stick to the surface.
Blue painters tape works very well. However, the blue color will stain and stick to your material and it is quite difficult to remove the piece from the glass bed. If you are having a hard time getting a piece to adhere, I would fall back on blue painters tape.
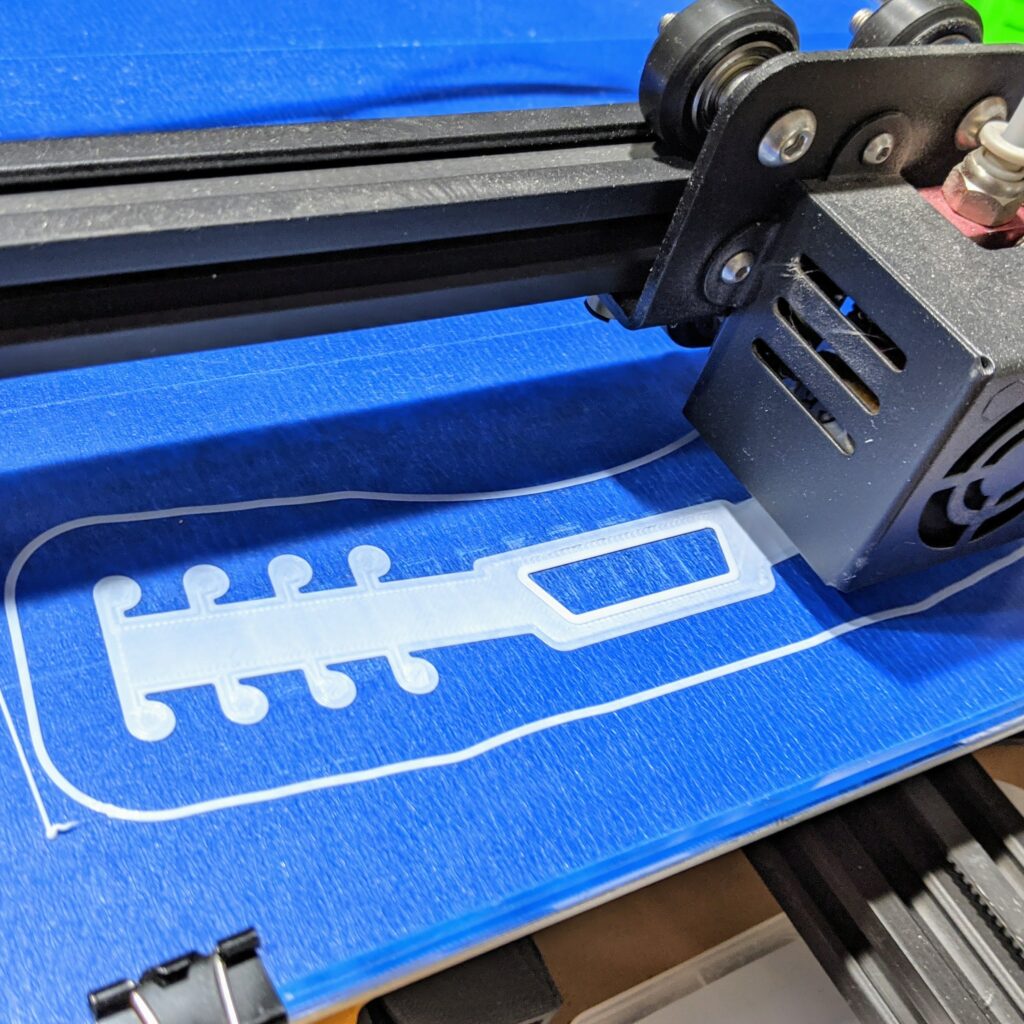
Remember that the object you’re printing also affects adhesion. If you’re printing a large object, plastic shrinks when it cools down, so the piece is likely to curl and pull away from the bed. In those instances, you need to think about printing with a “raft”.

The extra wasted material on the edge of the object helps give it more surface area to stick to the bed.
Very Informative. I definitely understand how important a flat glass is and how much printing with a raft can assist with large objects.