I receive (and send) lots of packages from my front door. I love creating scaled versions of things, particularly undersized. I decided to recreate a small version of the classic USPS mailbox for my front door as a place for packages to be held.
Additionally, my idea is to add LEDs, a camera, and make it WiFi enabled so I can monitor at all times, assuming the delivery carriers understand what it’s for. Hopefully I can make it intuitive enough but still retain the classic unmistakable design.
The Materials
- 1/4 inch MDF
- wood glue
- painters tape
- blue paint
- inkjet adhesive paper
- LEDs
- WiFi camera
- adhesive spray
- colored card stock
- flexible TPU filament
The Tools
- laser cutter
- fusion360
- lightburn
- Cricut Maker
- paper trimmer
- Canon Pro-100 inkjet
- 3d printer
The Build
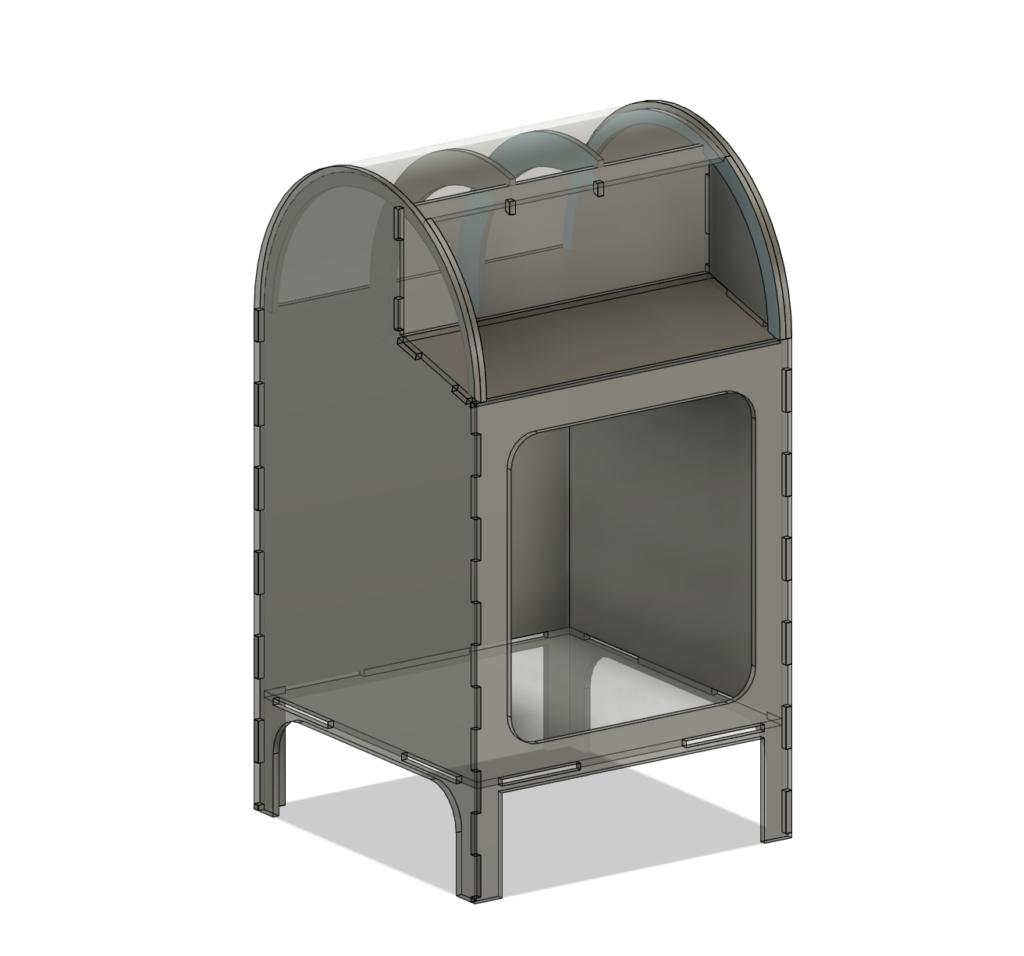

I envisioned this to be about 2 feet tall. The parametric design would let me adjust the dimensions. The hardest part of the design (and newest challenge for me) is the curved top. So far, everything I’ve created is pretty square. For this, I’ll have to use some tricks to make the curved top.
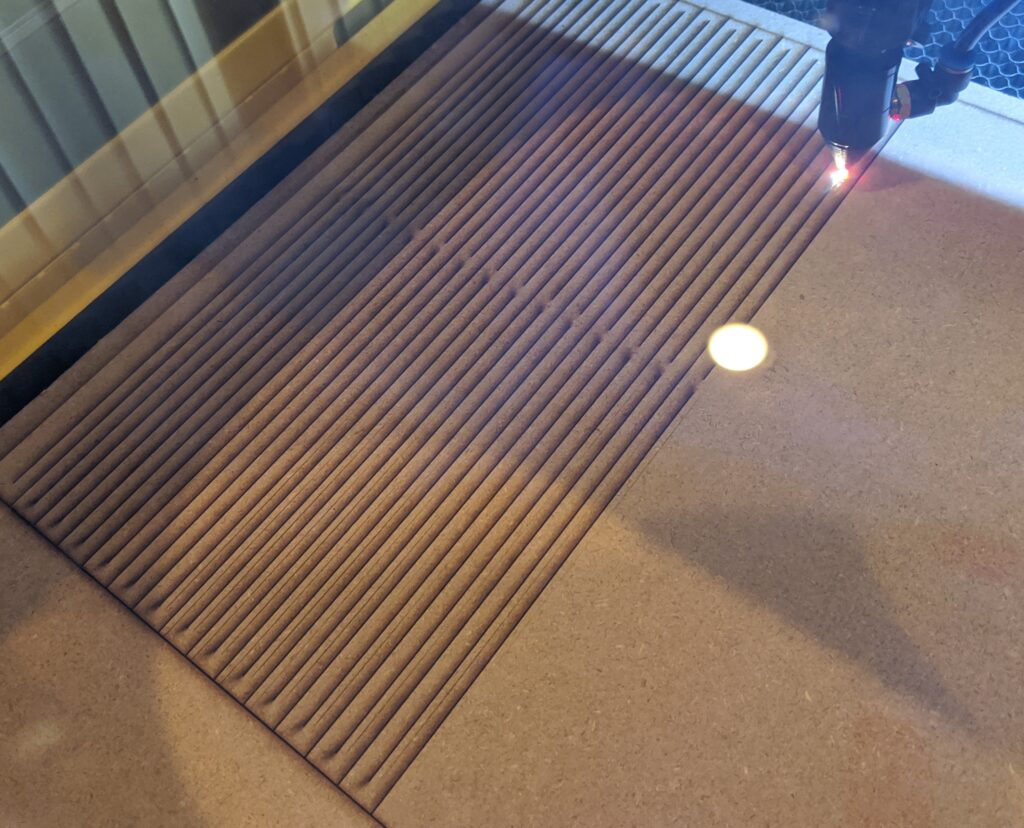
Cutting this took forever! It’s basically an alternating pattern of cuts. In Fusion360, I measured the inner curve length, and built a new piece based on that. The outer curve length is irrelevant for this because the cuts would provide the longer length that I need.
It came out super bendy! So excited. After test fitting the top curve, in the future, I’m going to make the piece slightly shorter than the inner curve surface. Even the the top is doing most of the stretching, the bottom also stretches as well so leaving some room would do just fine. I didn’t leave any tolerance to i had to really tape down the piece well during the gluing process.
Always remember to use the correct height when setting your laser/bed distance. The laser beam is hourglass shaped, and the middle of it should be the middle of your material. I didn’t quite adjust it right so the edges were slightly angled and required a little sanding.
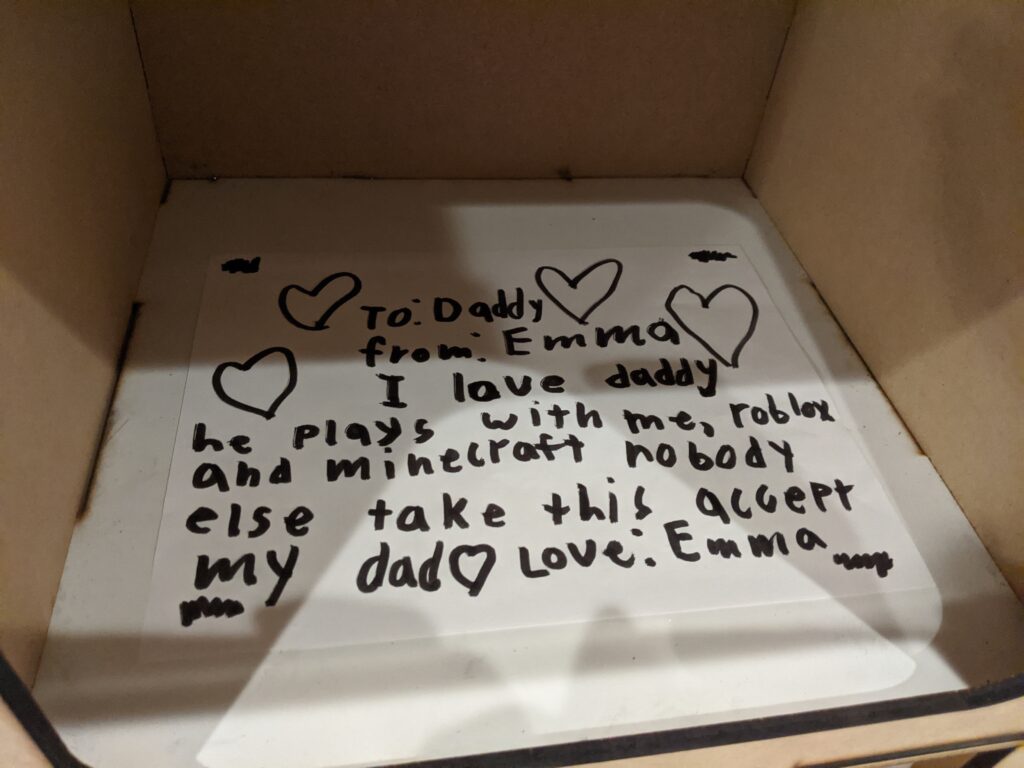
Emma wanted to be the first one to deliver a message in the new mailbox. She is the best!
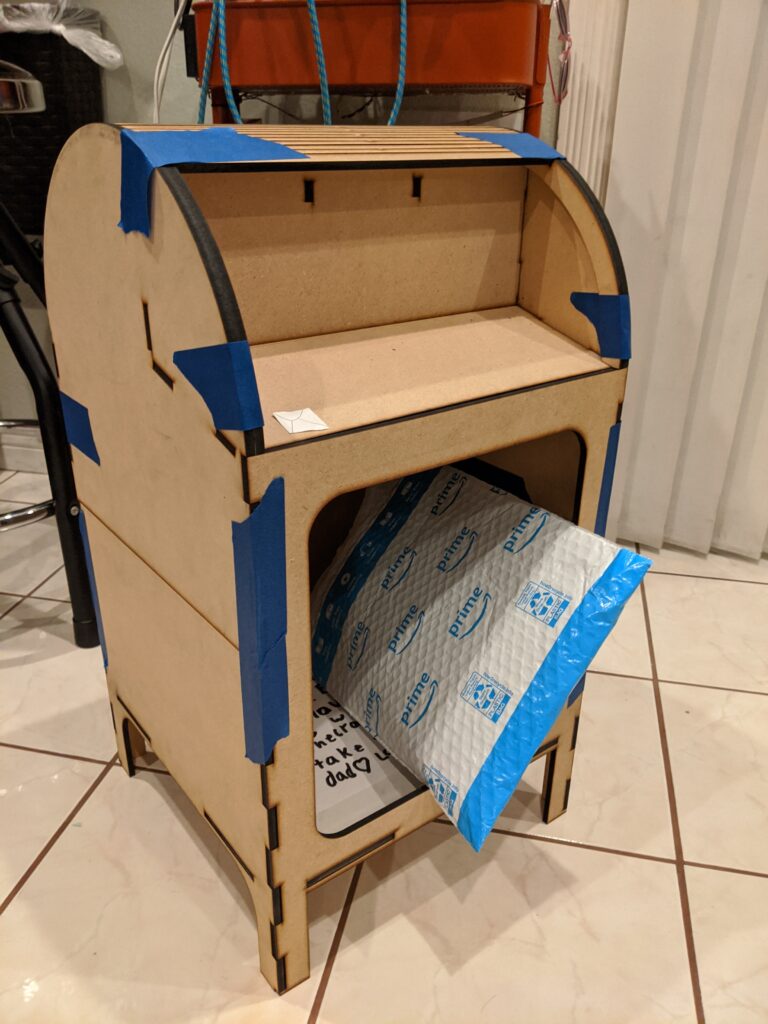
I had a difficult time deciding on the right amount of storage. I think the majority of packages will fit in here. it’s roughly 13x13x17.
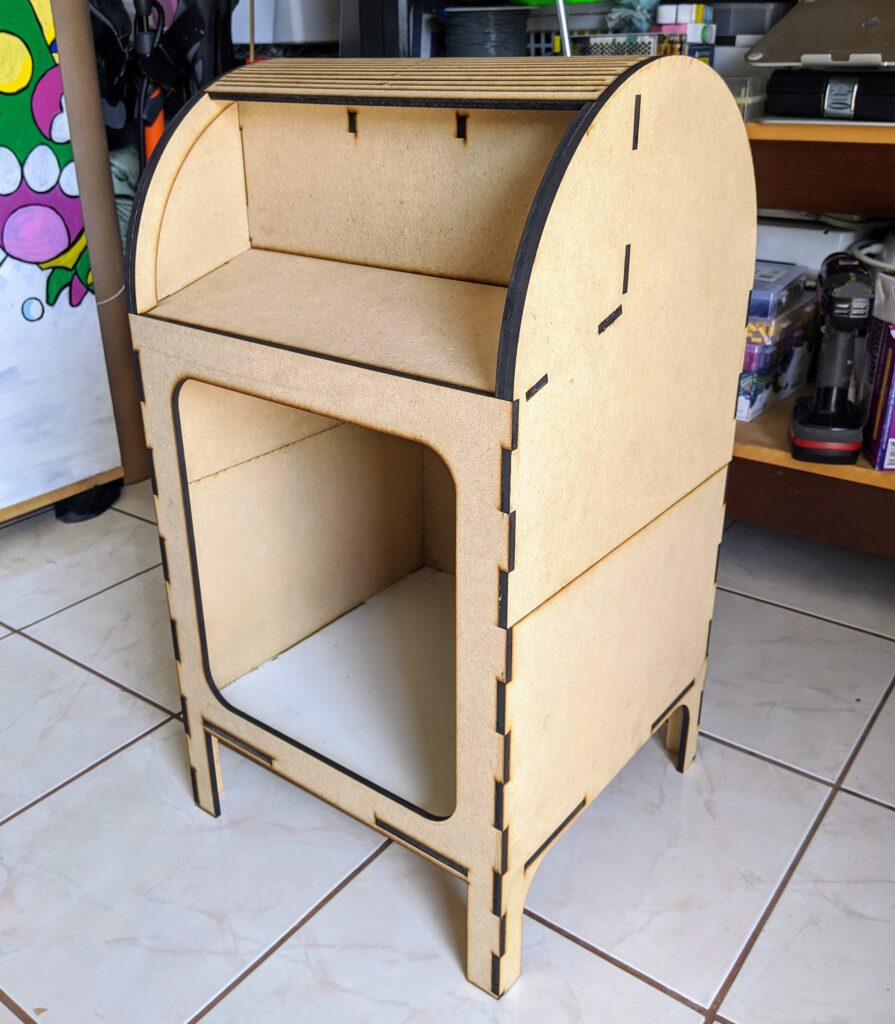
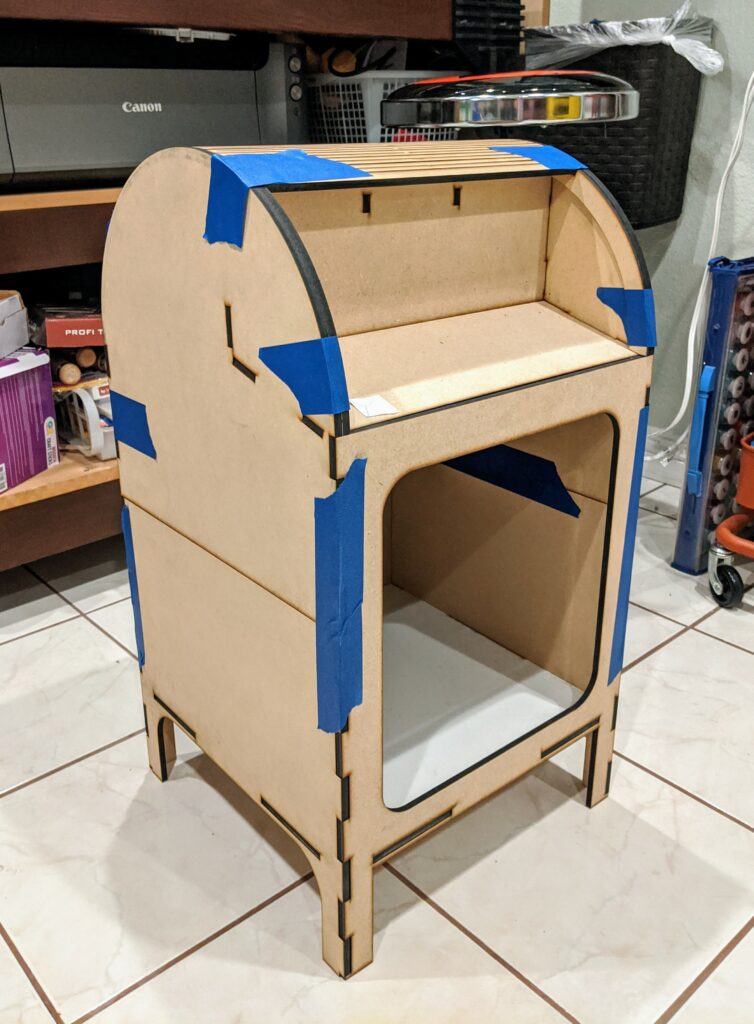
Glued all the pieces together. I used tape to hold down the top curved wood while using wood glue. Everything came together as expected!
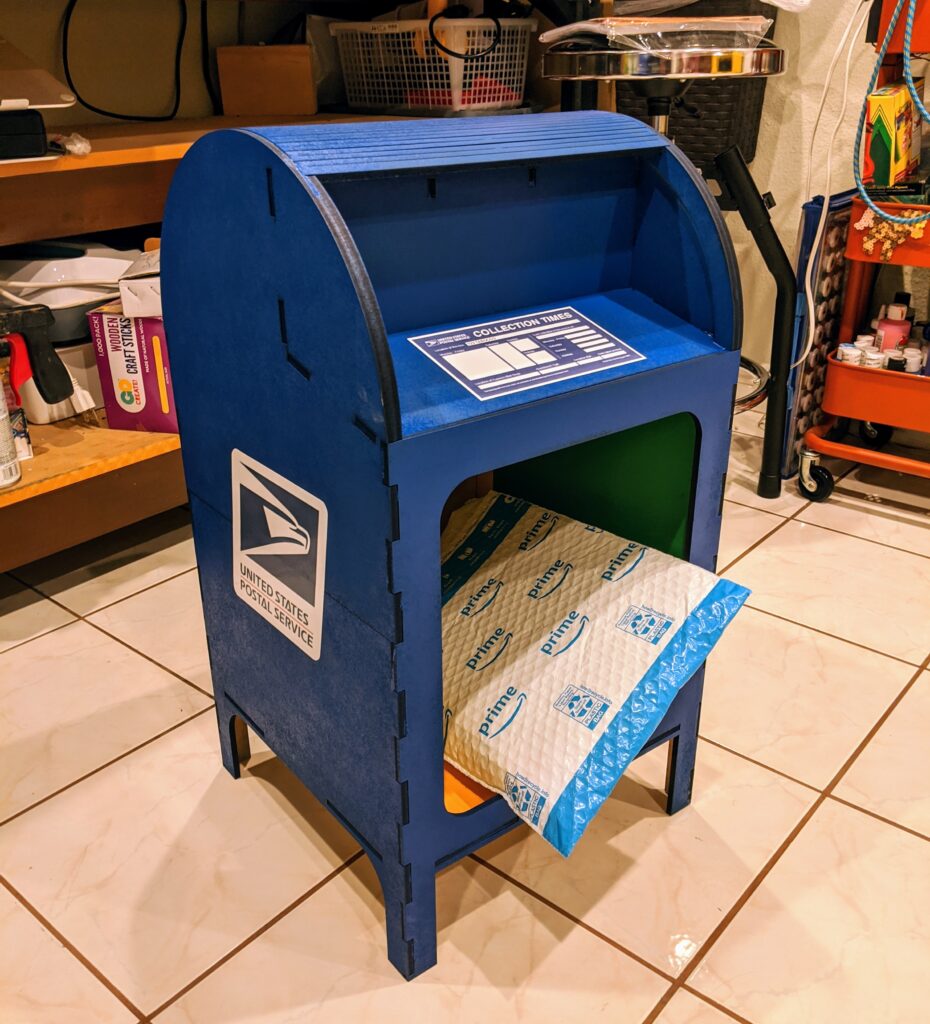
After painting, I added the logos and also lined the inside with colorful rainbow card stock. I also added a little disclaimer label in case somebody actually believes it’s a real mailbox.
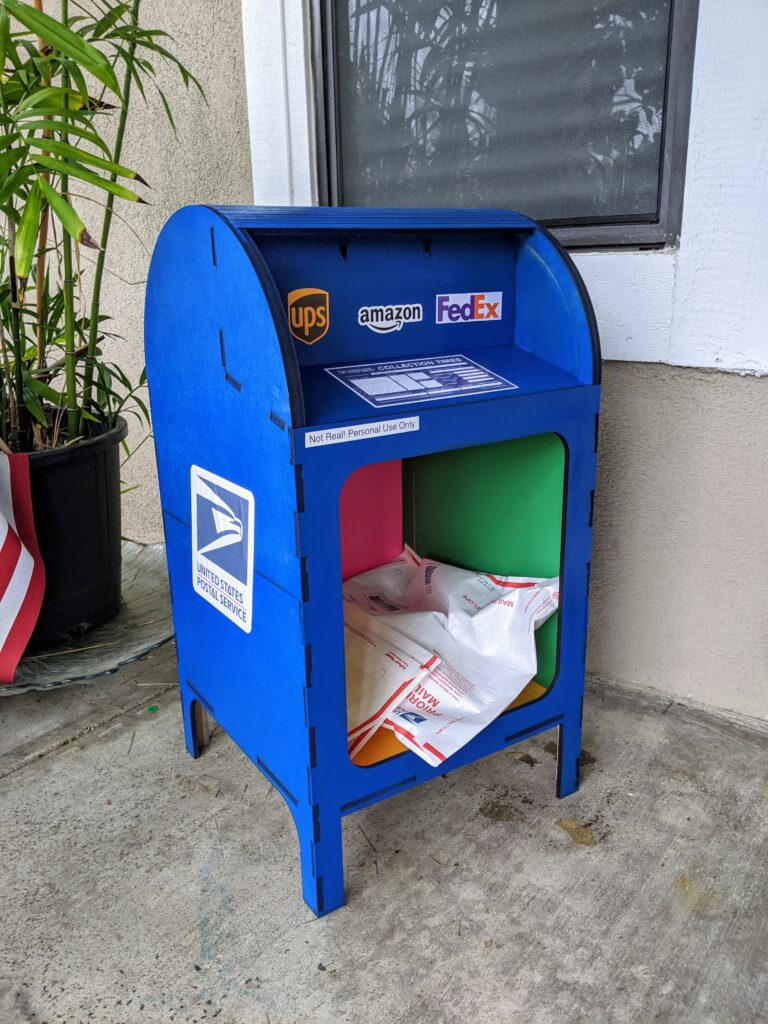
Here is the mailbox with all the logos and actually being used outside!
Updates
MDF legs on concrete are not great. I’m going to design flexible TPU feet for it to protect it from bumps and scrapes, but also leave it off the ground to prevent moisture.

My original designs were built for 6.4mm MDF. I adjusted the material thickness to 8mm, then generated this STL for flexible TPU. The reason is that I’ve found that TPU needs quite a bit of tolerance. Even if there is extra room, I can fill it with glue.
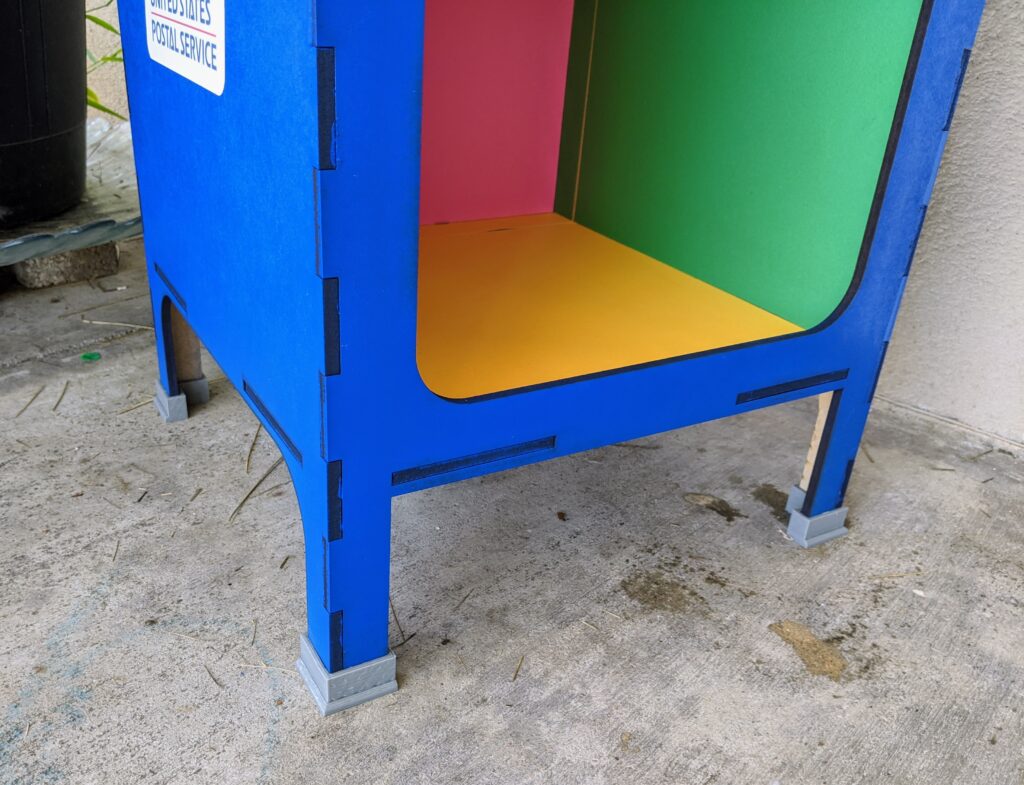
20% flexible TPU infill + 2mm tolerance fit perfectly! The flexible material really helps to protect the piece and also prevent it from sliding.
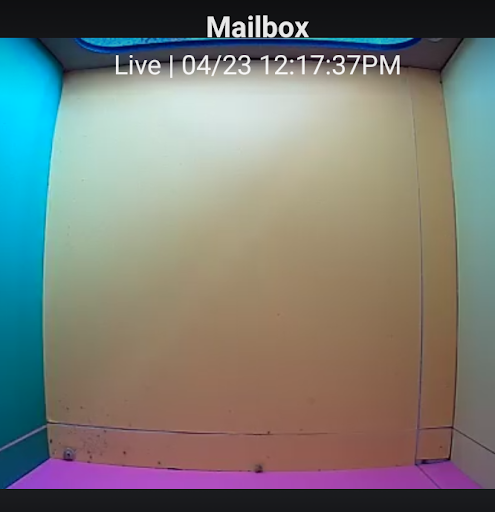
Using double sided padded tape, I mounted a camera to the top and now get motion alerts. Going to finally put this project to rest for awhile. Thanks for reading!